Trustedform
Get certificates for each form submission using best-in class lead verification. Explore Activeprospect’s Trustedform and LeadGen App integration.
EXPLORE THE TRUSTEDFORM <> LEADGEN APP INTEGRATION
Understanding TrustedForm and Its Key Processes
Understanding TrustedForm and Its Key Processes
The operation of TrustedForm and its essential components can be outlined as follows:
A user interacts with a form that has TrustedForm enabled.
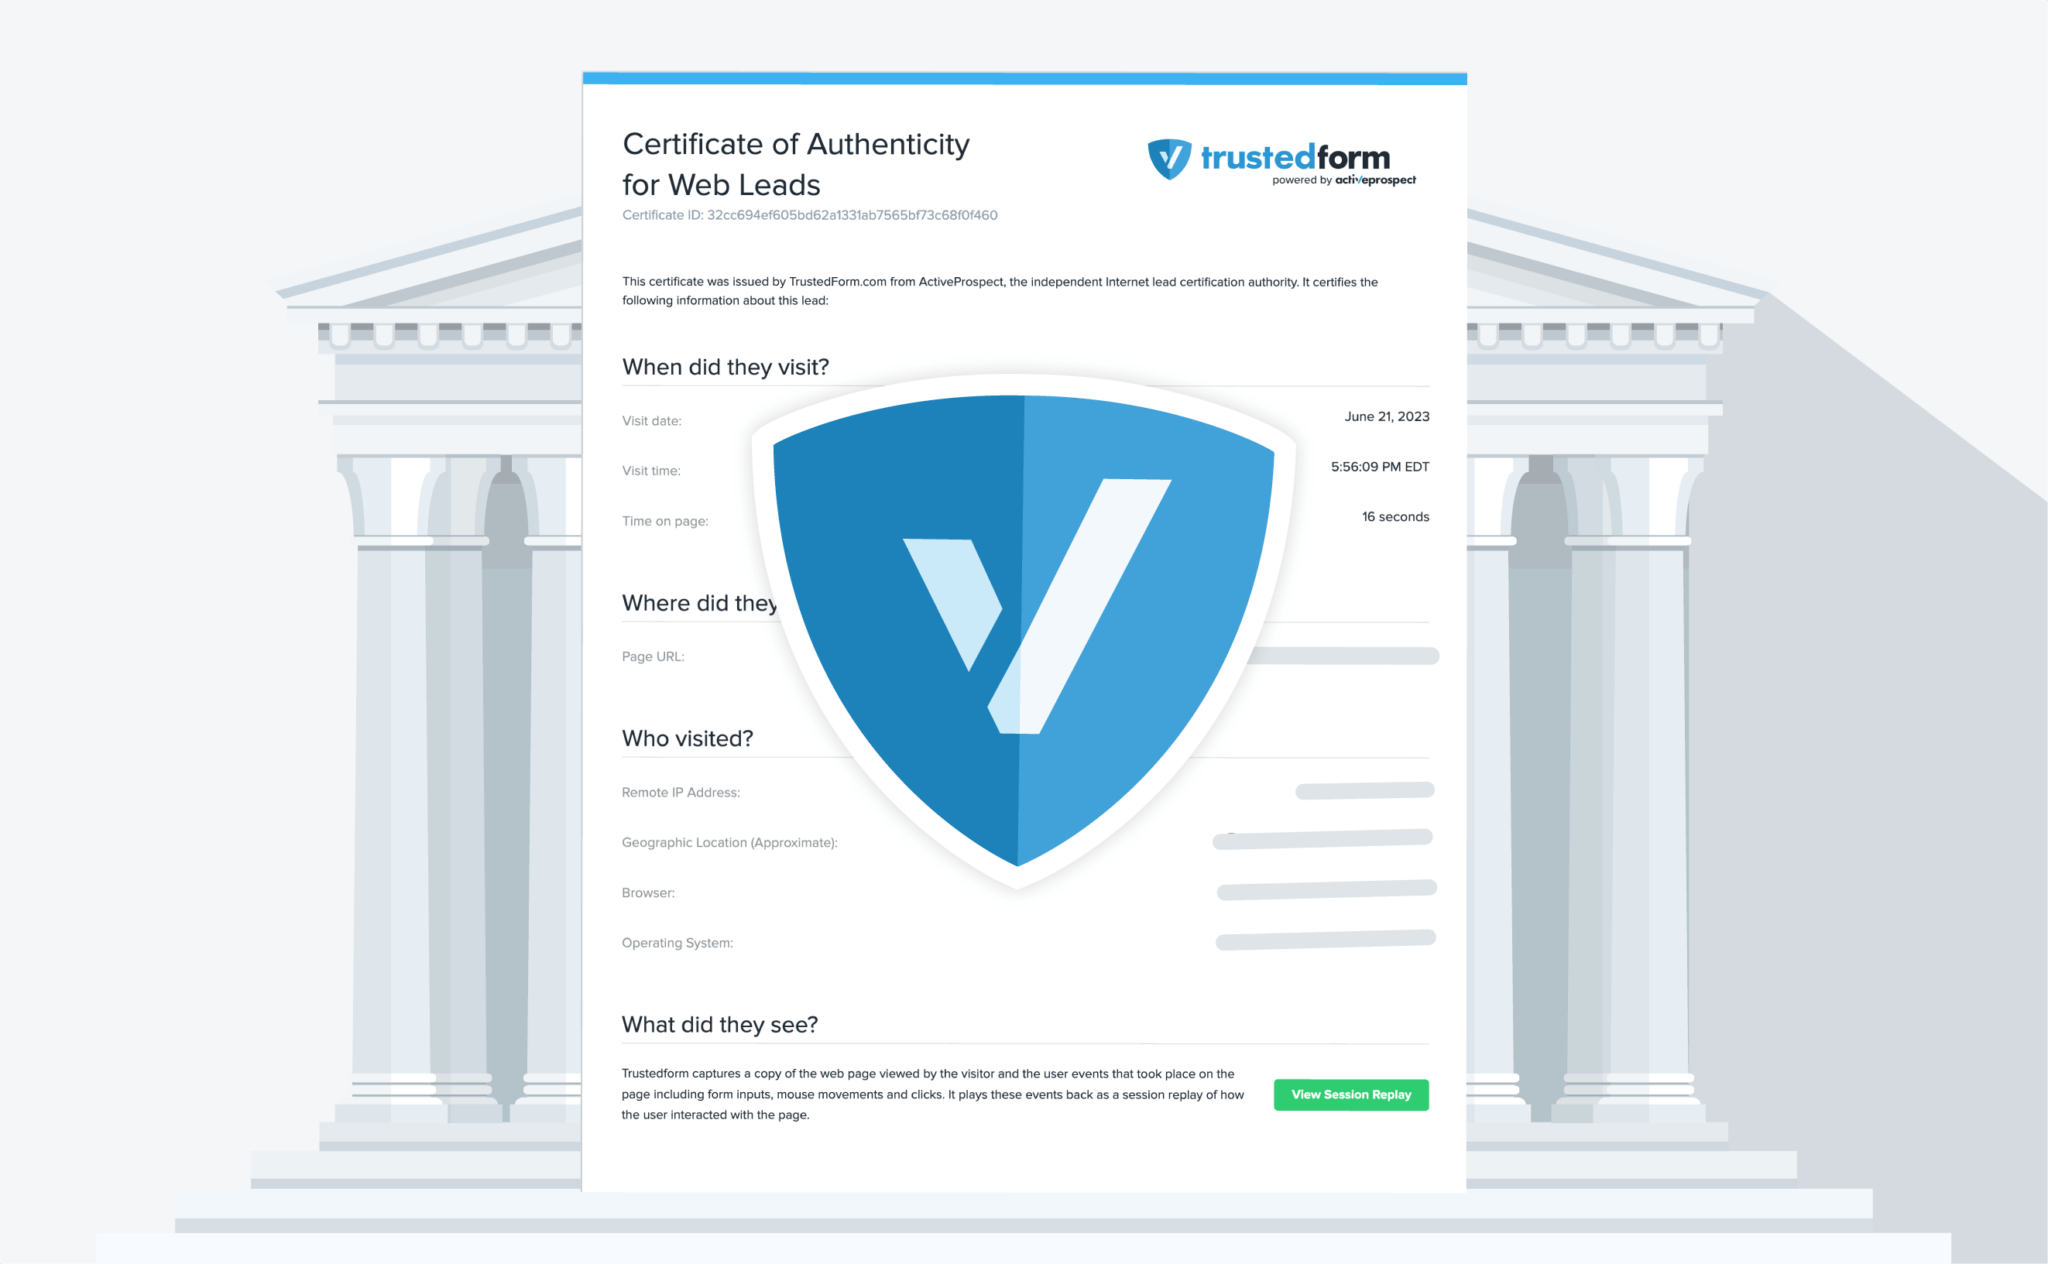
TrustedForm automatically generates a certificate for this interaction.
The certificate’s claim URL is recorded alongside the lead data.
Access to the certificate is possible through its unique claim URL.
The certificate can be claimed either through the TrustedForm API or integrated into your CRM system.

1.
Generated but not retained certificates will expire in 90 days, so users must retain the certificates during this time window.
2.
Users can sign up to TrustedForm Certify through this link.
3.
Users can verify the ownership of their website domains to avoid fraud and retain certificates at a discounted rate.
Accessing a TrustedForm Certificate
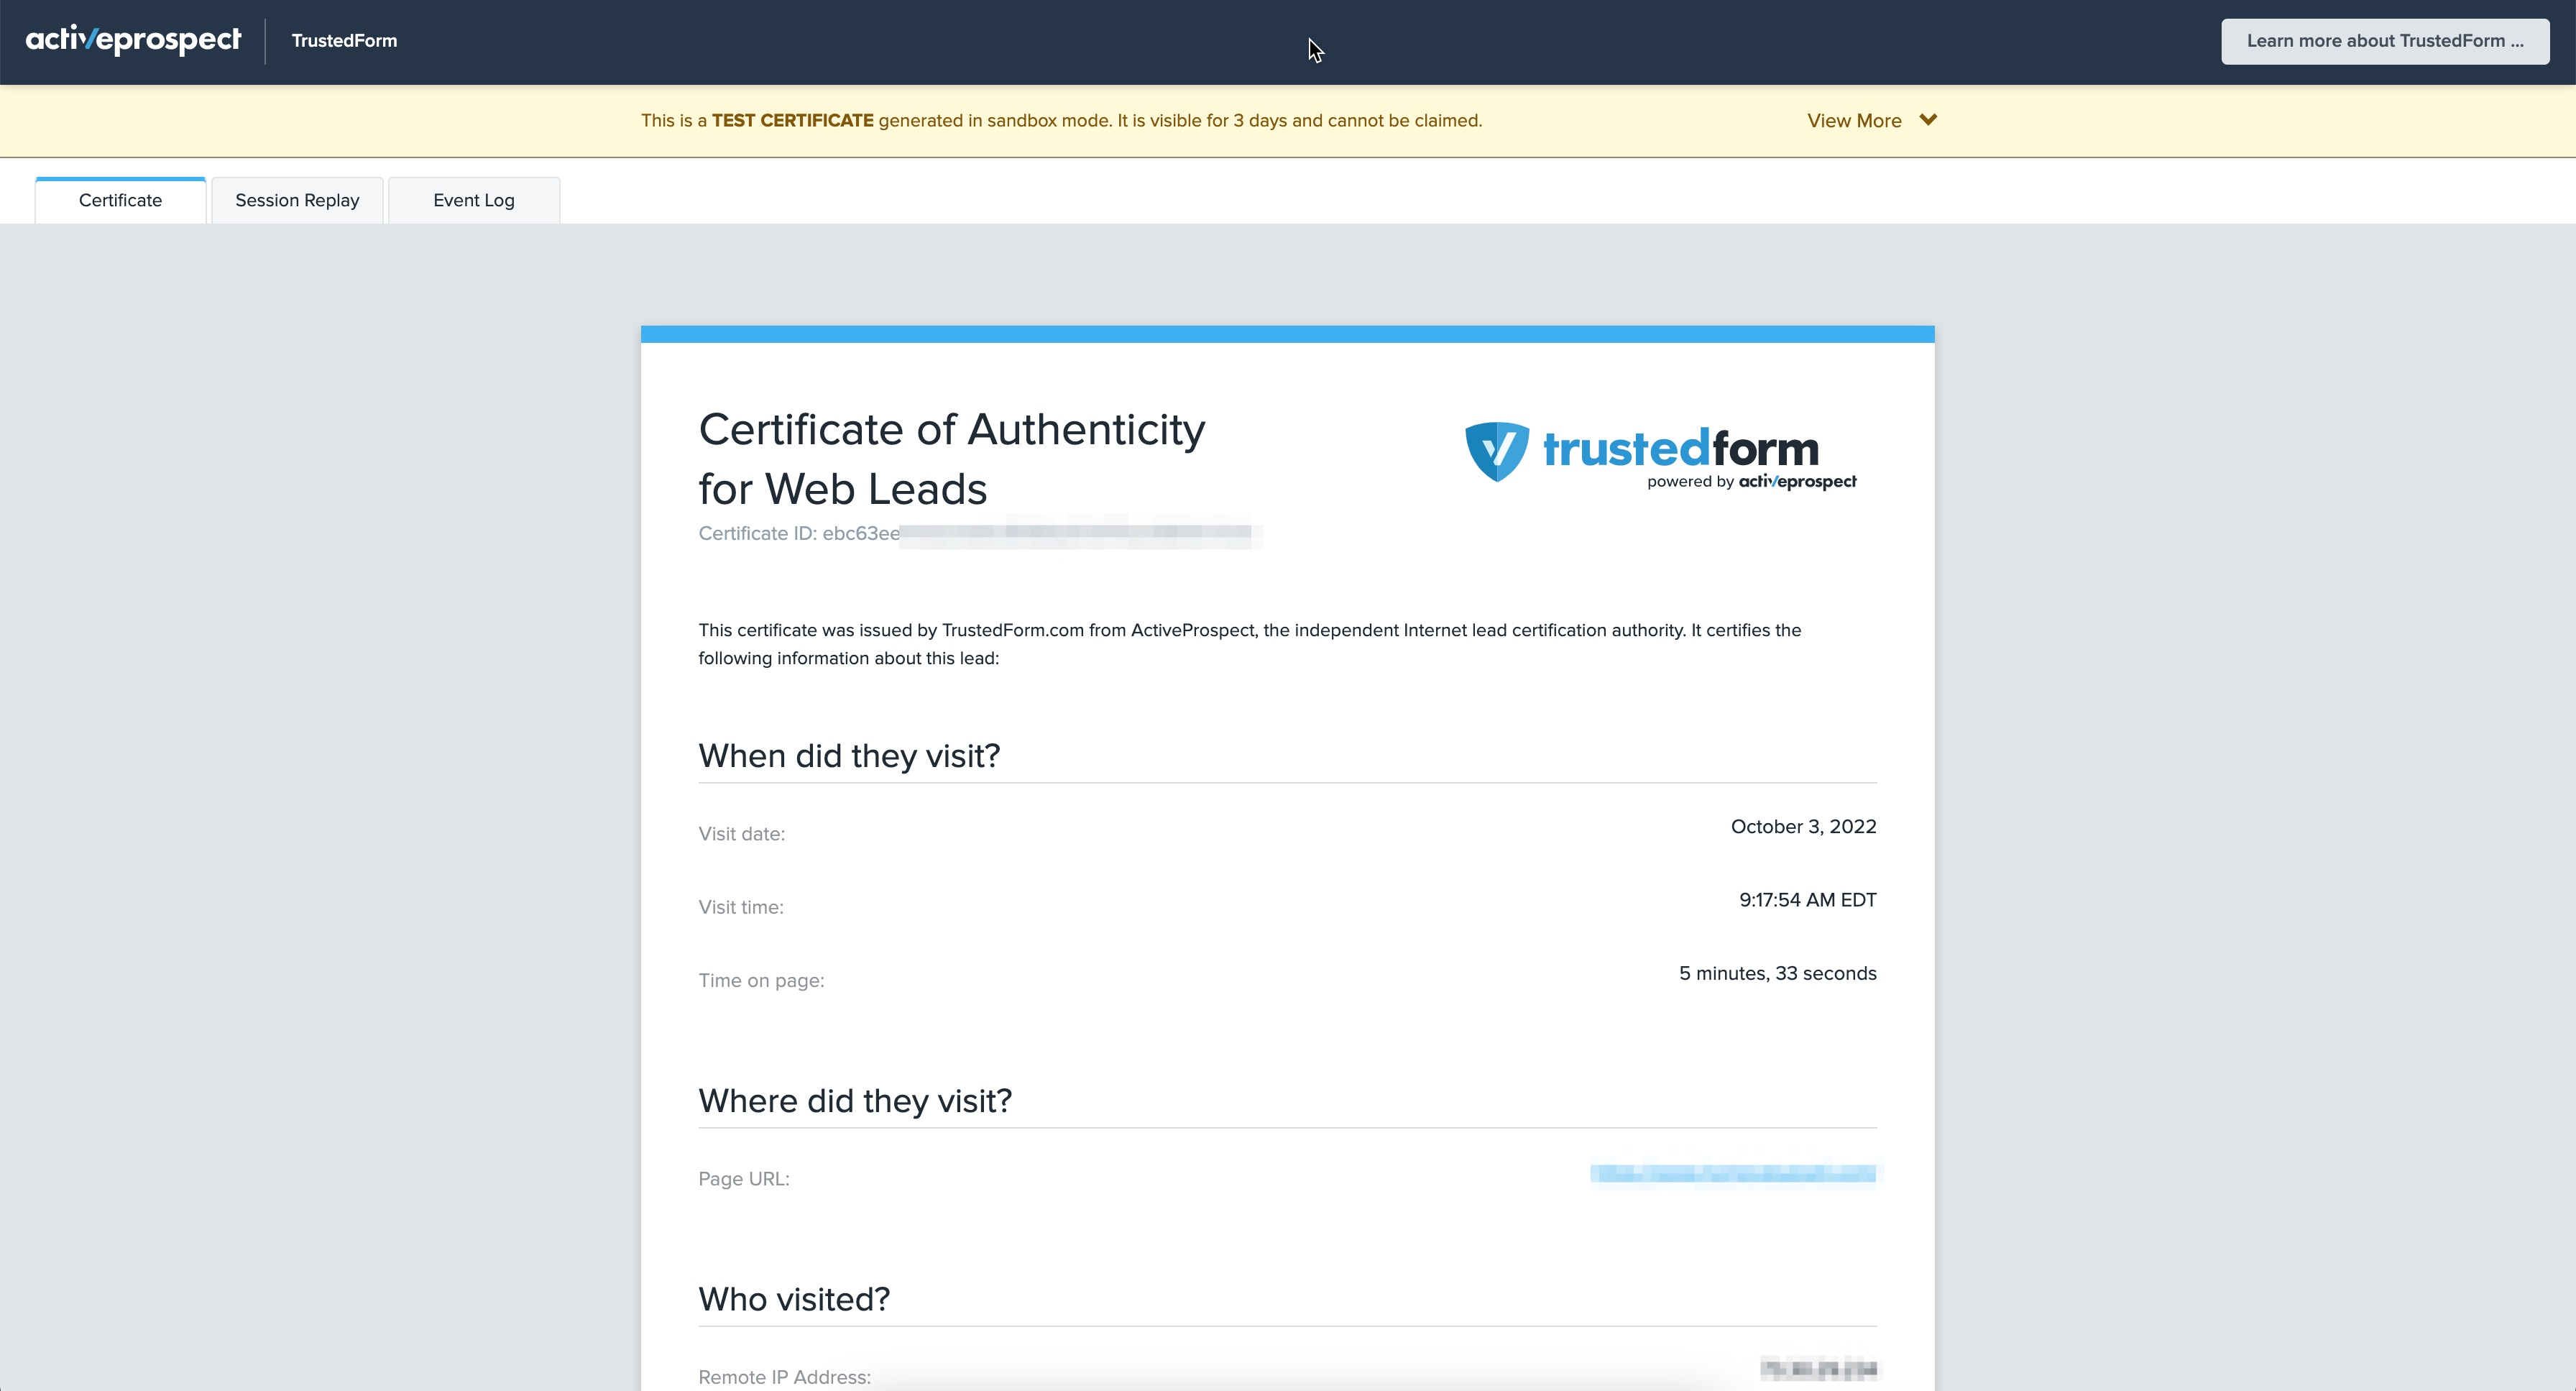
With the certificate claim URL saved alongside the lead information, it’s possible to access a very limited amount of information about a particular lead by navigating to this URL:
This URL is generated for every individual lead and is included in the lead data when it’s transmitted to your CRM or lead management system. The certificate URL can be easily shared with third parties to verify lead authenticity and compliance.
The TrustedForm certificate contains comprehensive information, including a snapshot of the web page at the time of lead submission, the lead’s consent to terms and conditions, and privacy policies. This information is securely stored on TrustedForm servers and can be accessed at any time through the certificate URL.
1.
Generated but not retained certificates will expire in 90 days, so users must retain the certificates during this time window.
2.
Users can sign up to TrustedForm Certify through this link.
3.
Users can verify the ownership of their website domains to avoid fraud and retain certificates at a discounted rate.

How do LeadGen App and TrustedForm Connect?
Detailed TrustedForm LeadGen App Set-up Guide
1) Sign up for a TrustedForm certify account
To get started, you’ll need to sign up for a TrustedForm Certify account here. This will allow you to certify leads.
As this is an ActiveProspect product, you’ll need to create an ActiveProspect account, but it’s free of charge.
2) Grab the TrustedForm JavaScript snippet
Once you’re signed up, head to this page to grab your JavaScript snippet. Make sure to only copy the function part of the script, as shown in the image below.

3) Log in to LeadGen App and navigate to Integrations.
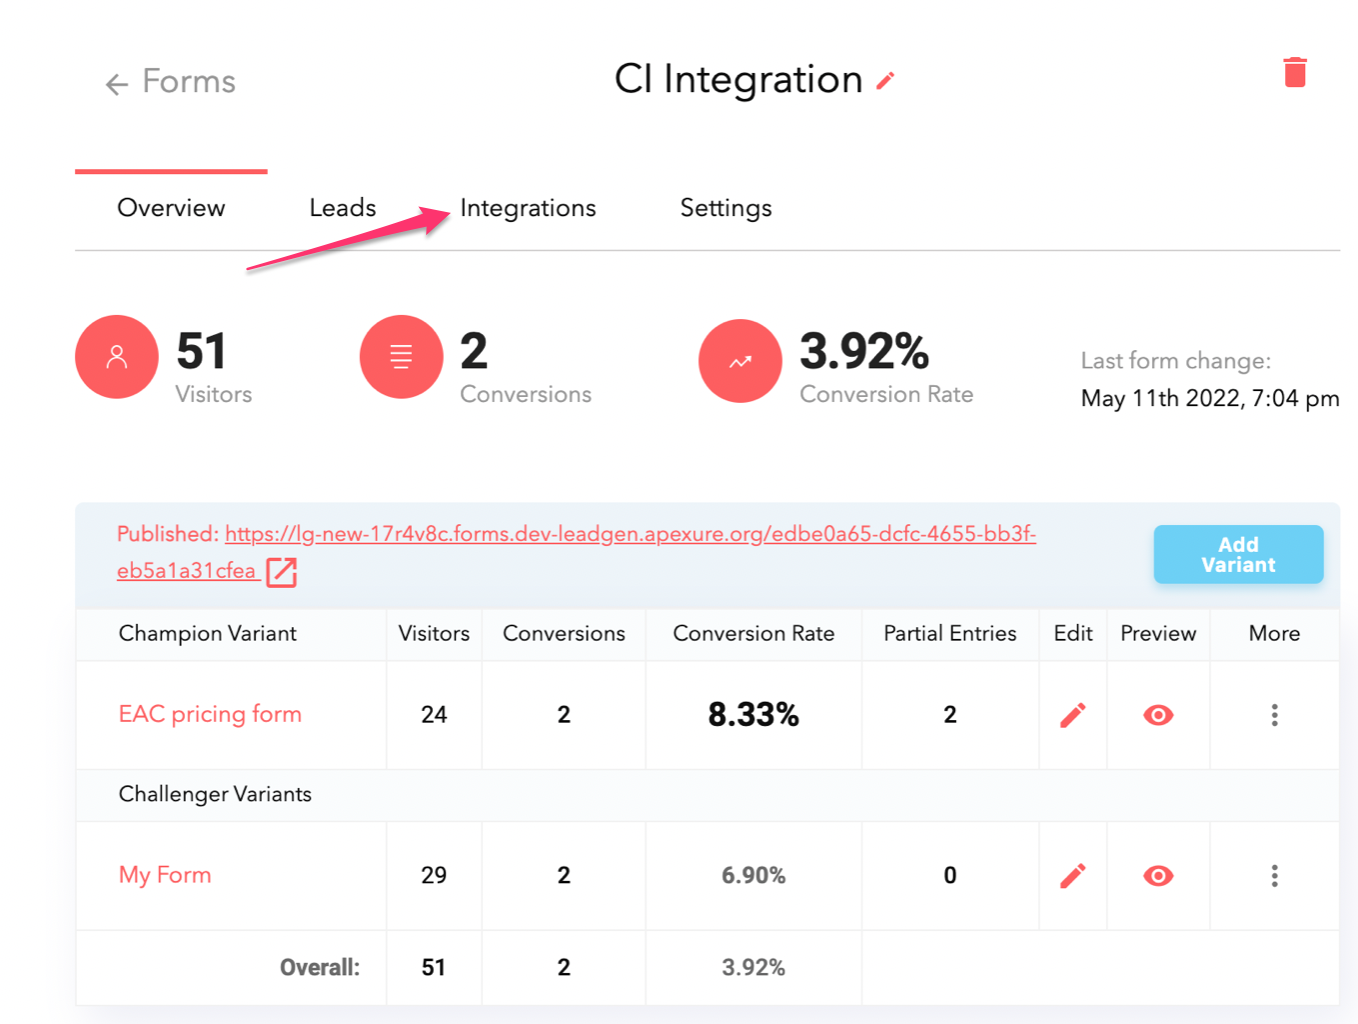
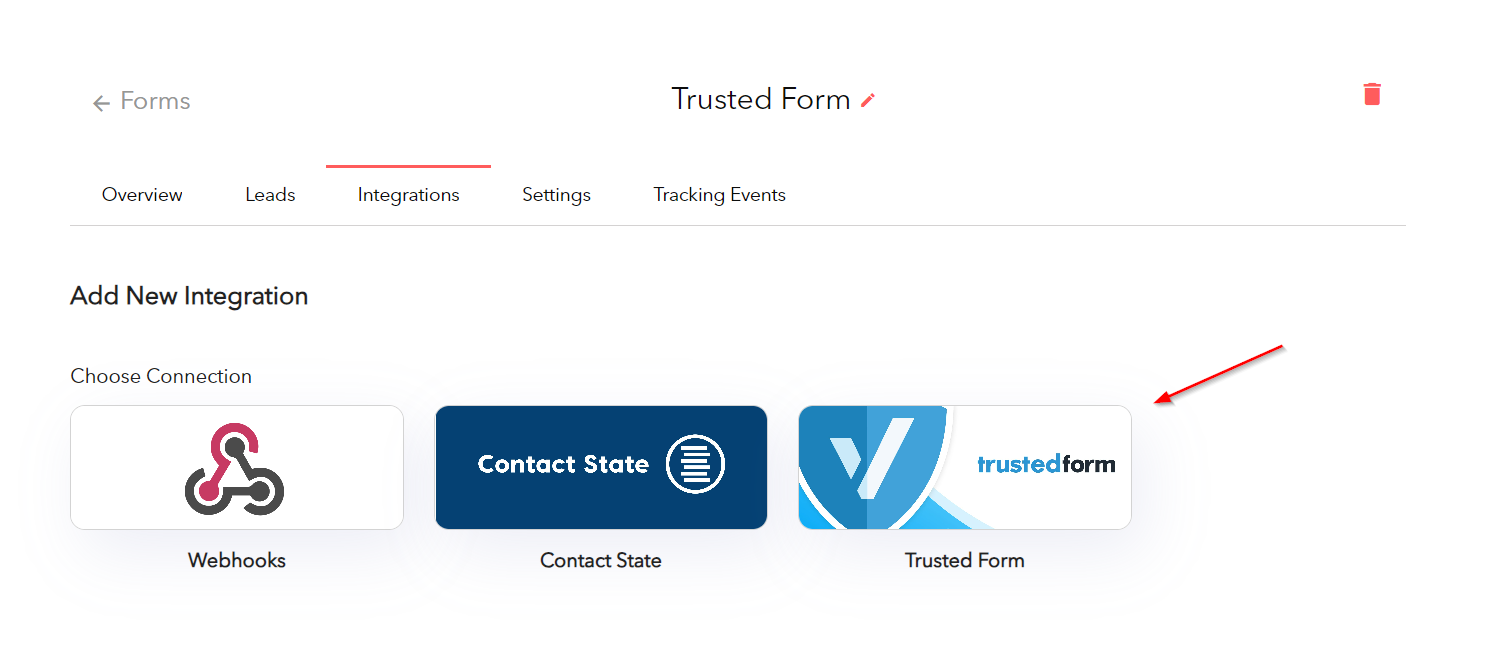
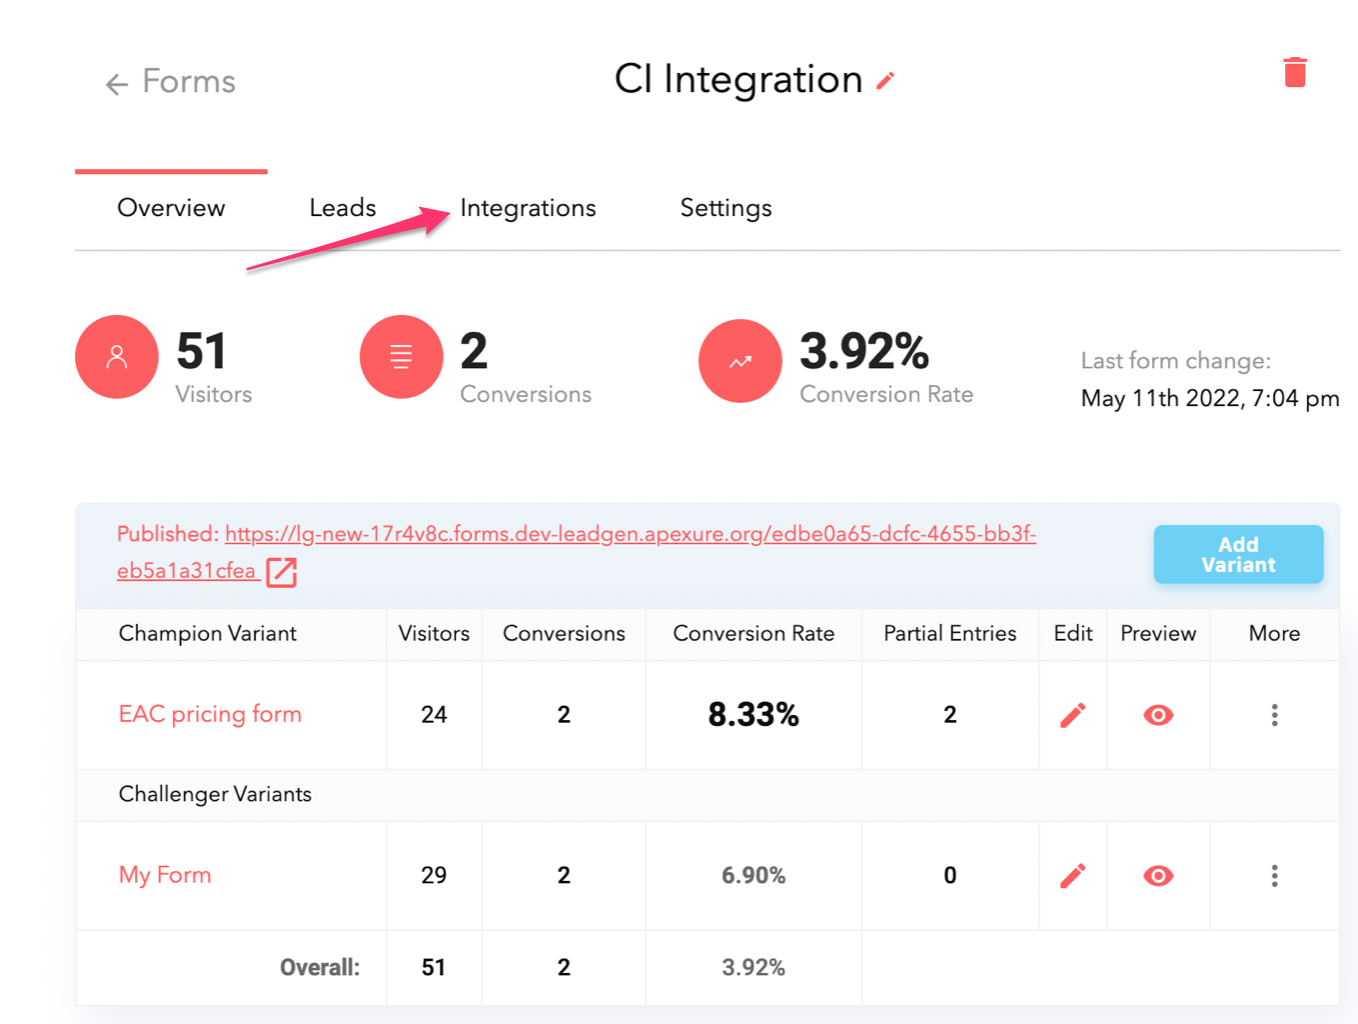
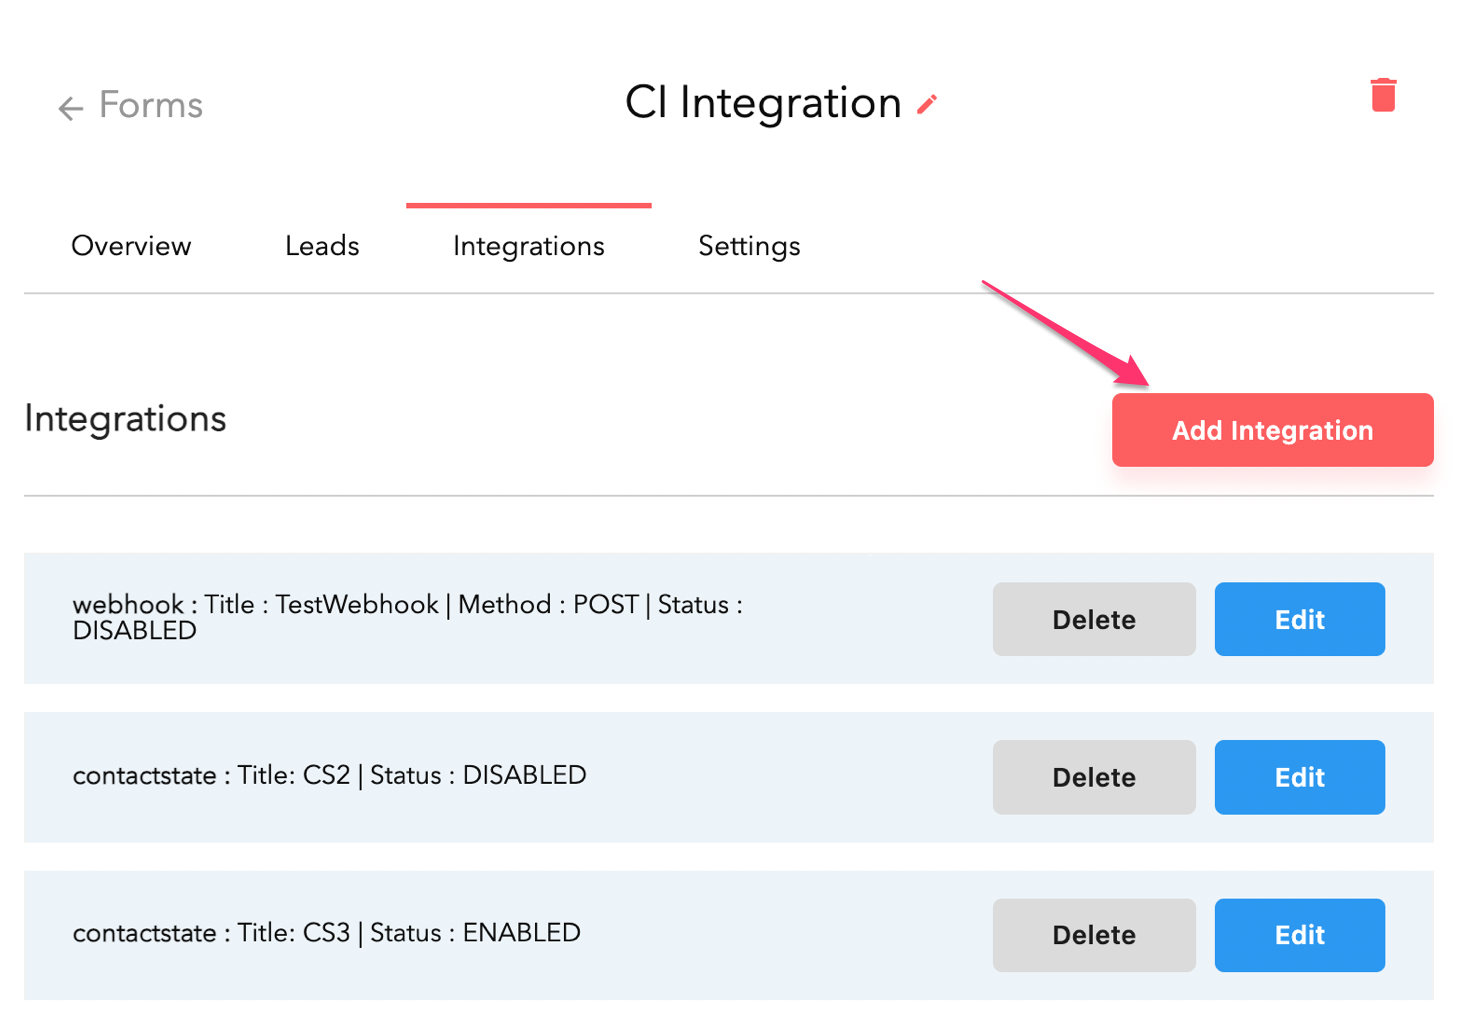
Next, you’ll need to log into LeadGen App. Open up your form and hit “Integrations” on the top bar.
Next, click on “Add integrations”.
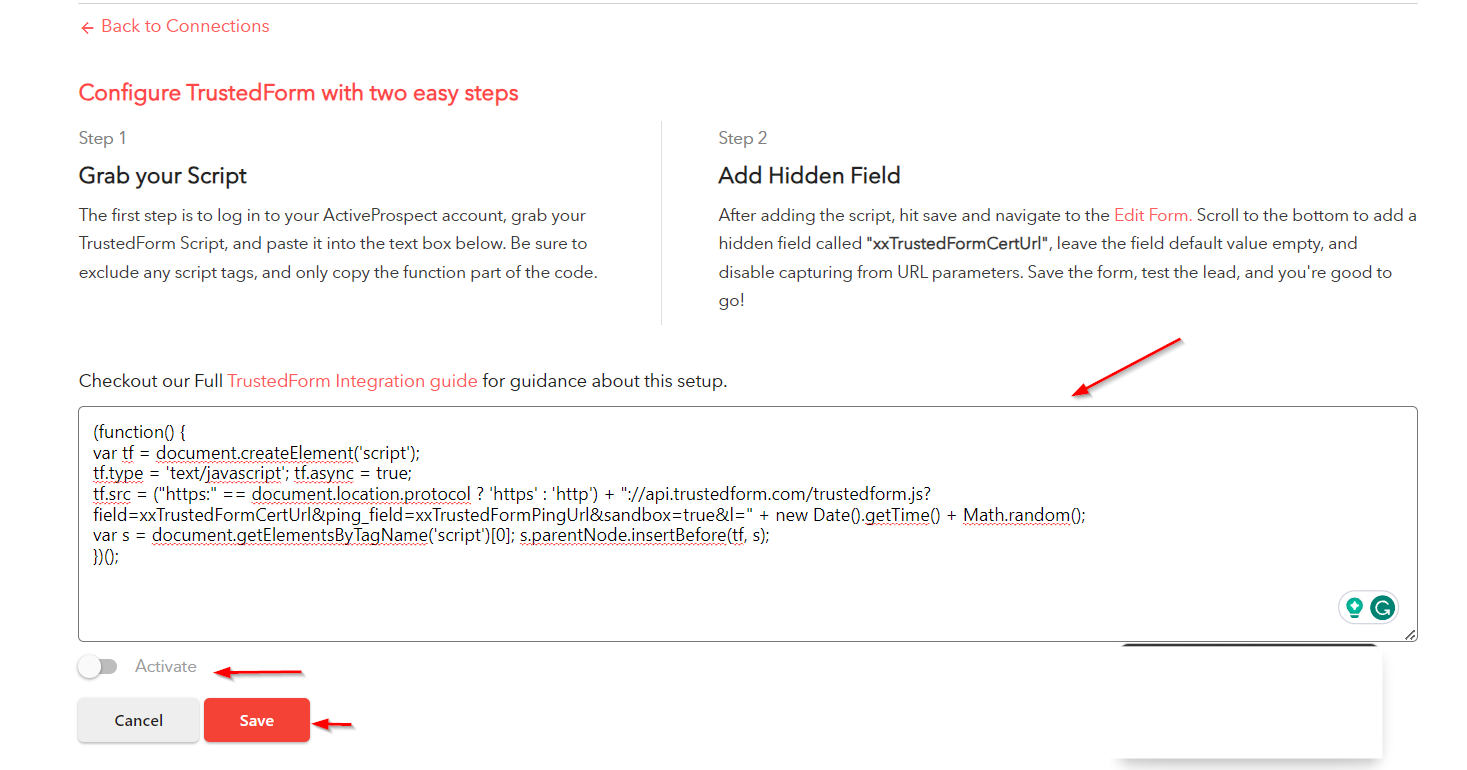
Next, select “TrustedForm” integration. Now paste the trusted form script code into the textbox as shown in the image below
Once the script has been added, click on “Activate Save” and proceed to Edit Form by navigating to the form overview page. Scroll to the bottom to add a hidden field called xxTrustedFormCertUrl, leave the field default value empty, and disable capturing from URL parameters.
Save the form, test the lead, and you’re good to go!
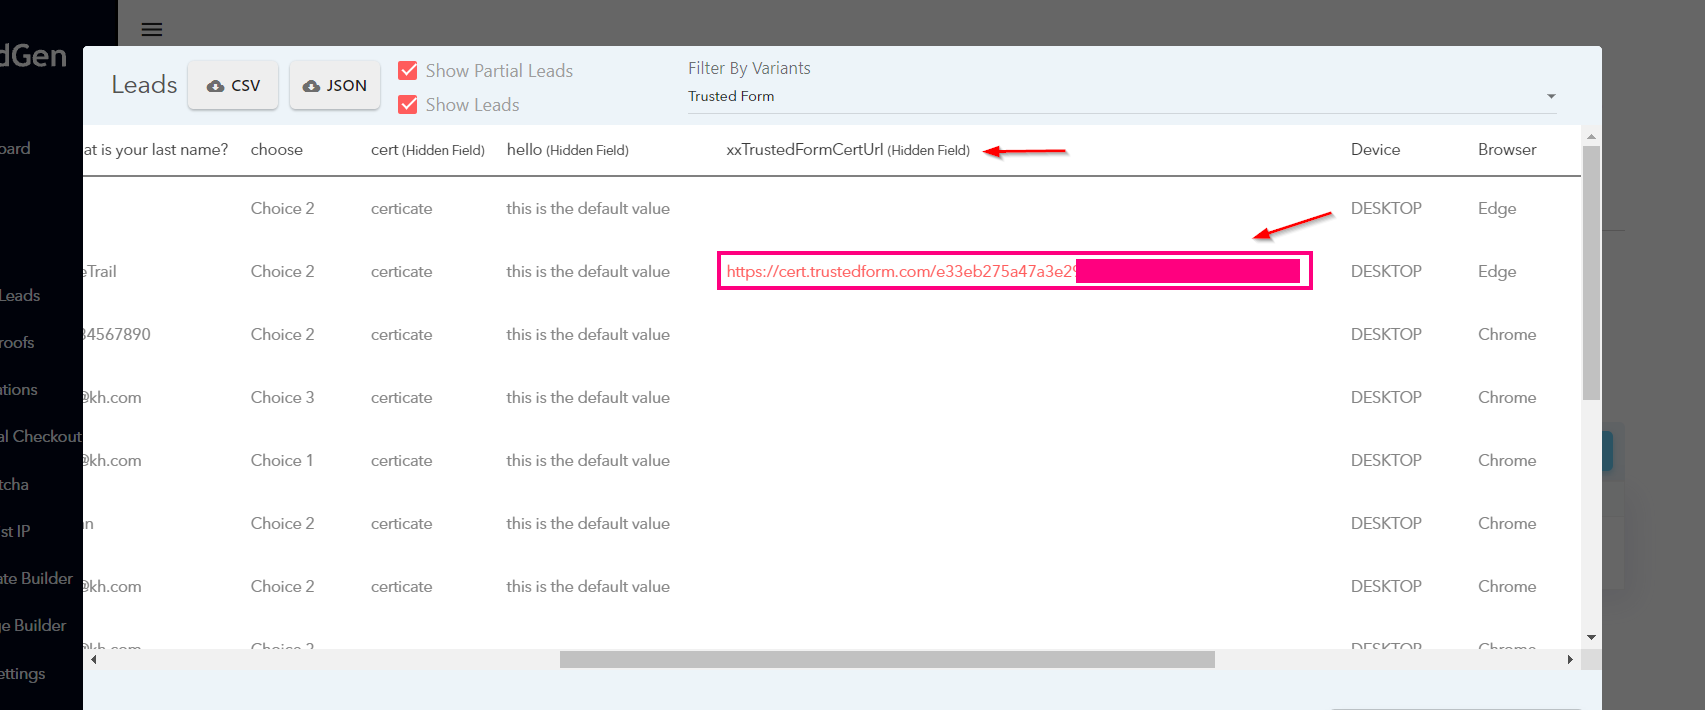
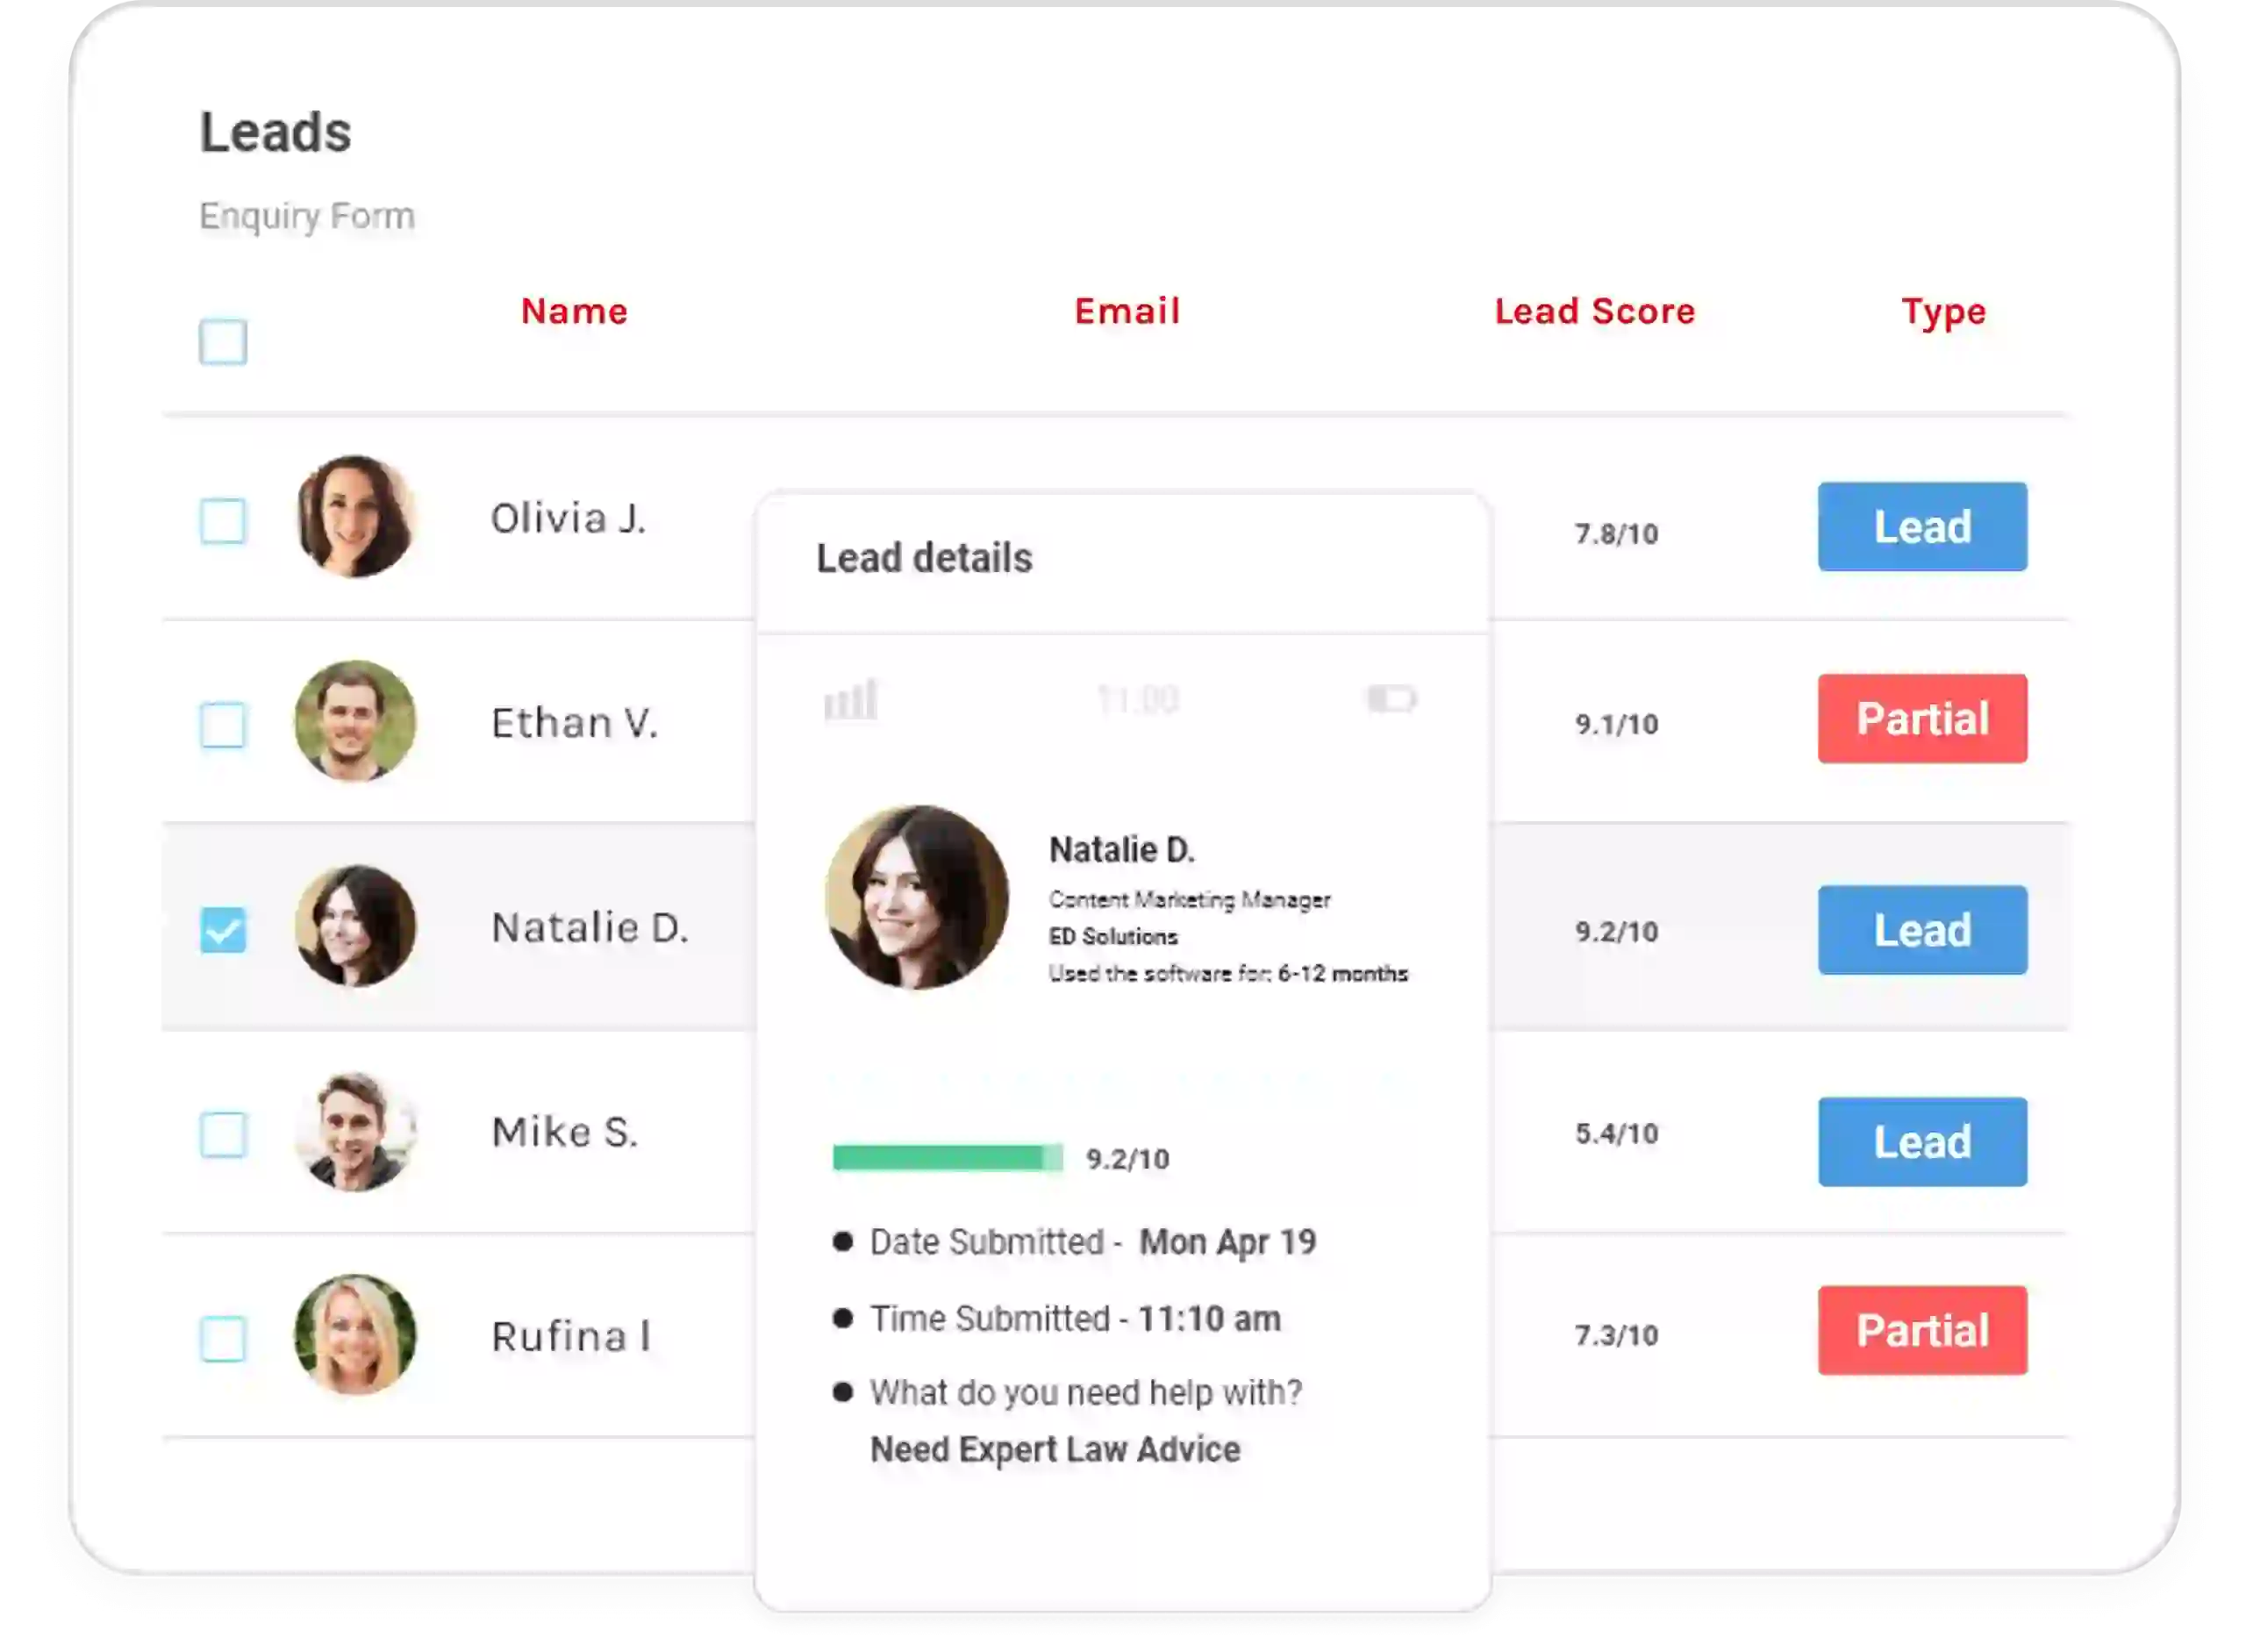
Once you’ve submitted a test lead, you’ll see the usual columns in the form results, as well as the TrustedForm certificate URL:
With the certificate URL now saved alongside the lead information, you can now use LeadGen’s Zapier integration to send the lead data to 300+ destinations, such as a CRM or system that will ultimately claim the certificate.
Detailed TrustedForm LeadGen App Set-up Guide
1) Sign up for a TrustedForm certify account
To get started, you’ll need to sign up for a TrustedForm Certify account here. This will allow you to certify leads.
As this is an ActiveProspect product, you’ll need to create an ActiveProspect account, but it’s free of charge.
2) Grab the TrustedForm JavaScript snippet
Once you’re signed up, head to this page to grab your JavaScript snippet. Make sure to only copy the function part of the script, as shown in the image below.
3) Log in to LeadGen App and navigate to Integrations.
Next, you’ll need to log into LeadGen App. Open up your form and hit “Integrations” on the top bar.
Next, click on “Add integrations”.
Next, select “TrustedForm” integration.
Now paste the trusted form script code into the textbox as shown in the image below
Once the script has been added, click on “Activate Save” and proceed to Edit Form by navigating to the form overview page. Scroll to the bottom to add a hidden field called xxTrustedFormCertUrl, leave the field default value empty, and disable capturing from URL parameters. Save the form, test the lead, and you’re good to go!
Once you’ve submitted a test lead, you’ll see the usual columns in the form results, as well as the TrustedForm certificate URL:
With the certificate URL now saved alongside the lead information, you can now use LeadGen’s Zapier integration to send the lead data to 300+ destinations, such as a CRM or system that will ultimately claim the certificate.
Generate More Leads Today
Create user-friendly online forms and capture more leads today.


