Our forms come with two different embed codes: Direct embed and iframe. Forms can be used with any page builder with an HTML editor.
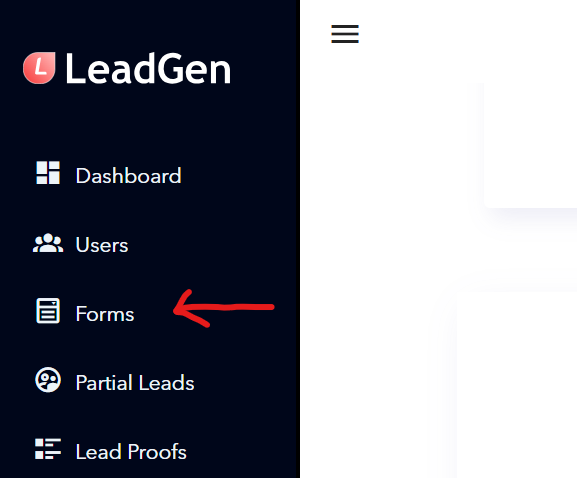
You need to go to the form page first, so the initial step is to click on “Forms” in the sidebar.
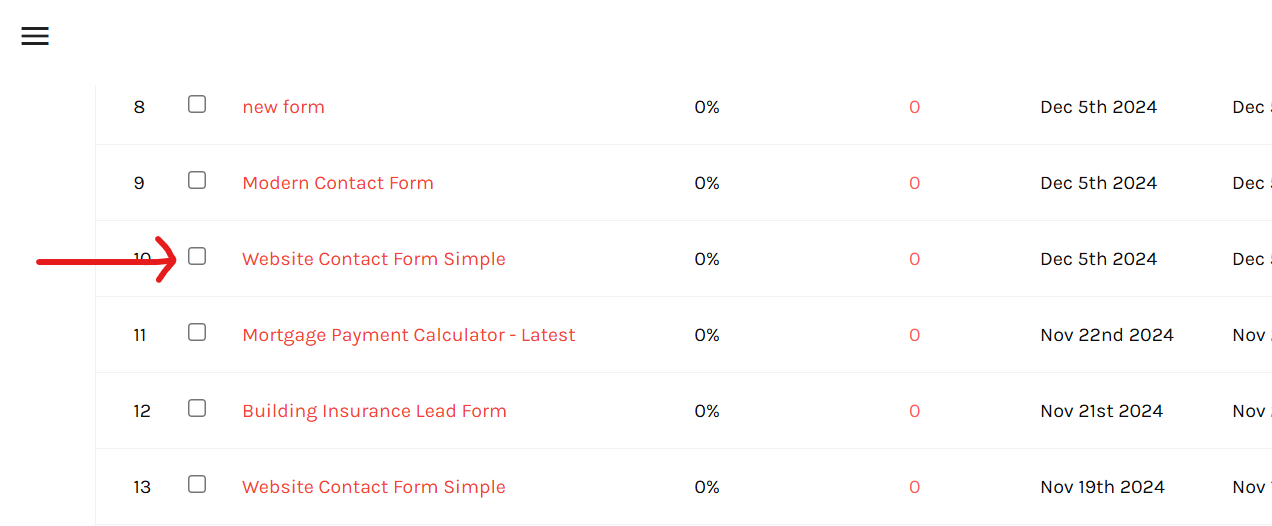
Please select the form that you want to embed from the list by clicking on its name.
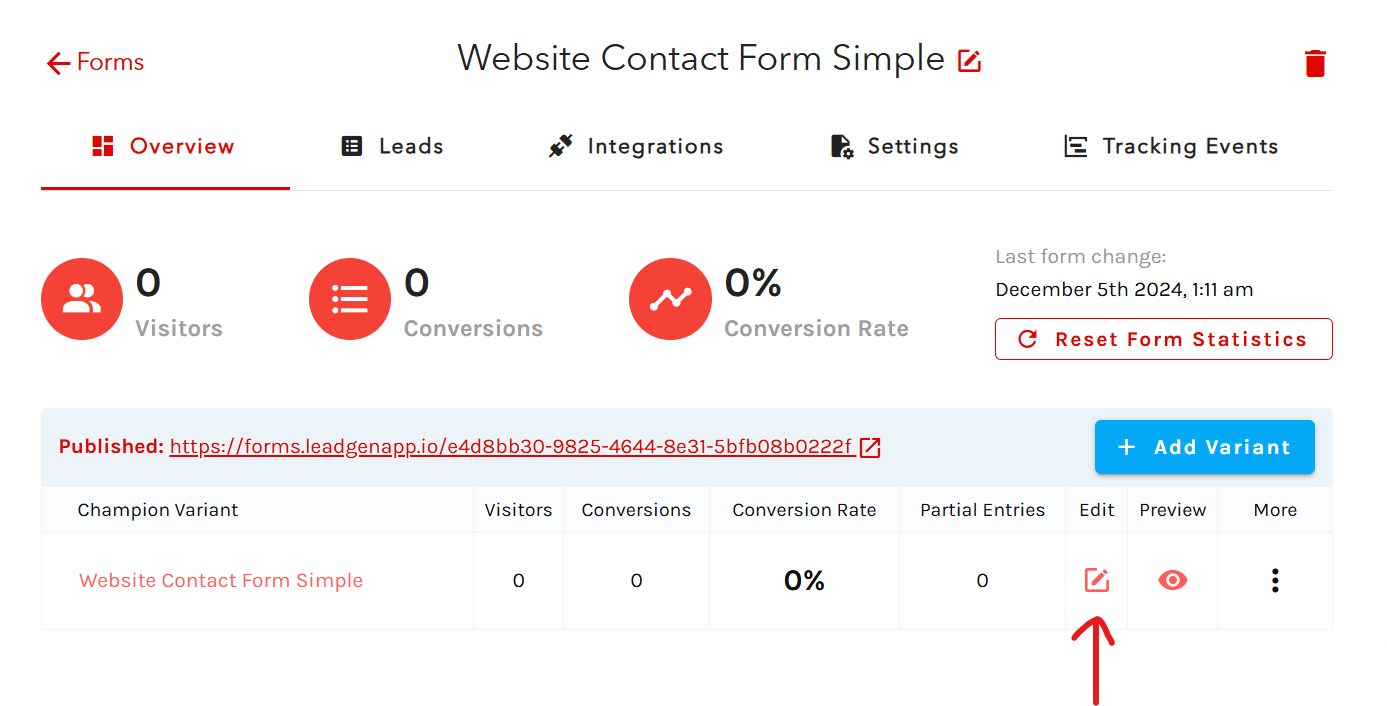
Click on the “Edit” icon to access the editor section for the form.
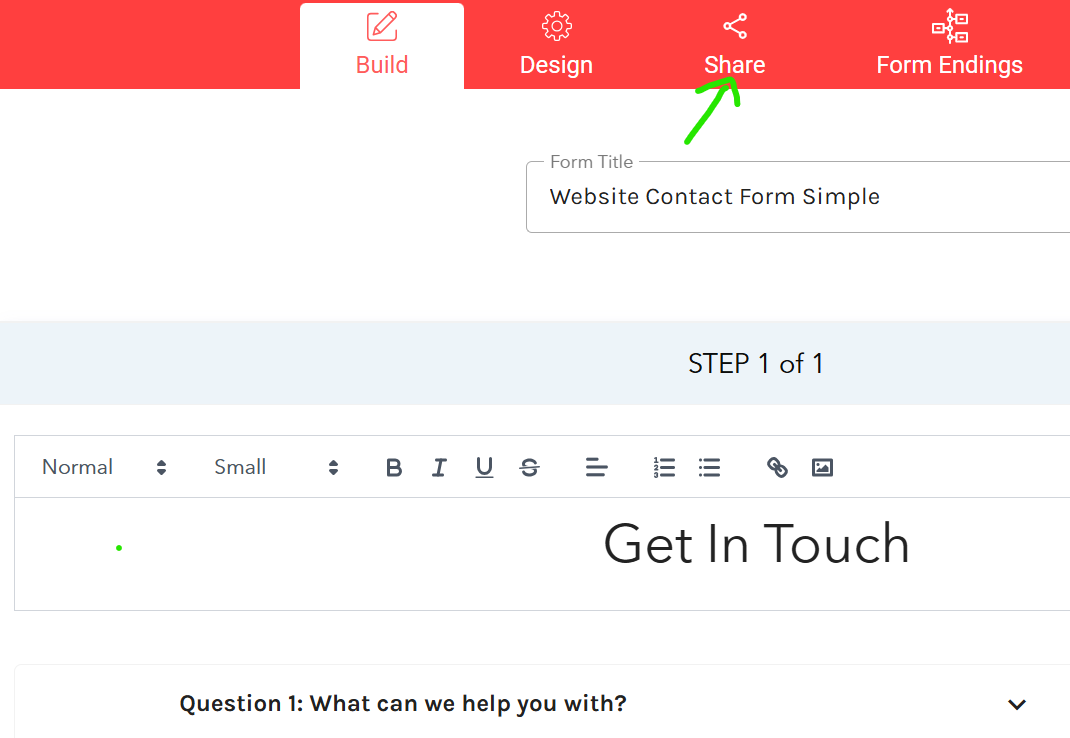
Click on “Share” in the header.
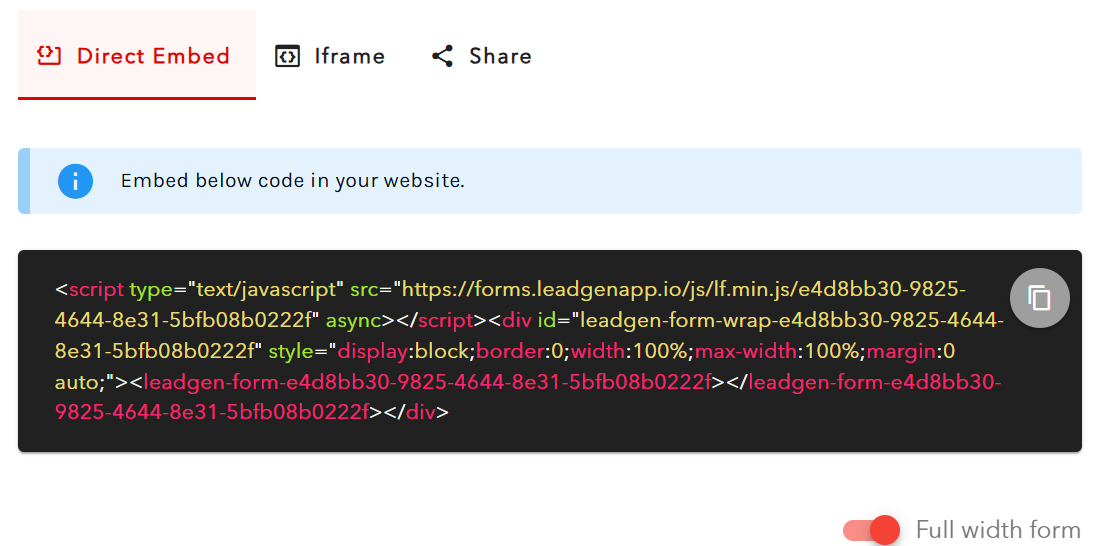
Now you can see the script for embedding the form. The next steps are copying the code and pasting it into your website, exactly where you want to embed the form on the page.
For the direct embed code, there is a toggle called “Full Width Form,” which you can turn on/off to change the form width type based on how you want the form to look on the page.
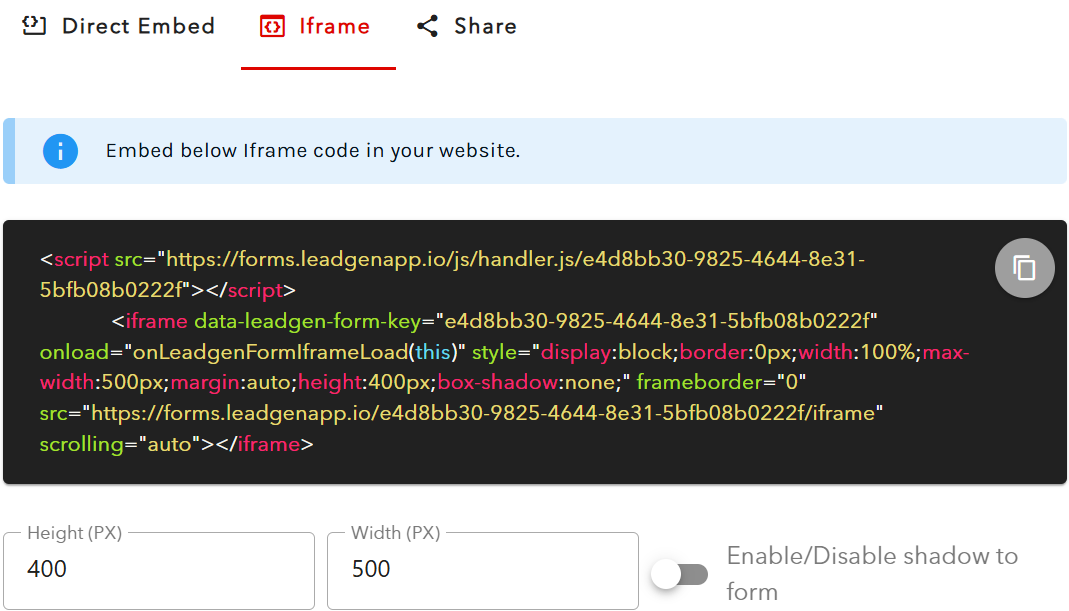
If you need to embed the form in an iframe, you can do that by selecting the “iframe” tab and copying this script instead of the above. There’s no “Full Width” option here, but you can manually change the form’s height and weight. If you want to add a display to your form, there’s an extra toggle for styling.
The difference between the two publishing options, embed, and iframe, is that the embedded option allows you to pass more attributes, a feature mainly used by marketers for tracking reasons.
You can embed the code in any HTML page-builder. For simplicity, let’s look at WordPress here. Once you copy the code, as shown above, you need to go to your admin panel and open the post or page editor. After opening it, click on the “Text” tab and scroll down to the exact spot where you want to publish the form.
The last step is to paste the code and then click “Update” to publish the changes on the live website.

In custom WordPress themes or other custom page-builder themes, make sure to embed the form via “Custom HTML” or “Raw HTML”, not in the text editor. This will give you the best results.
Any changes you make to the form via the LeadGen web app will be reflected in the embedded code, so you never need to go back to add the code again.