This article will cover the basics of creating a form without going too in-depth. We will showcase a high-level, simple scenario for this piece and cover more of the topic in future articles.
To get started, you need to log in. On the homepage, you can find the “Log in” button on the top right corner. Click on it to move to the next step.
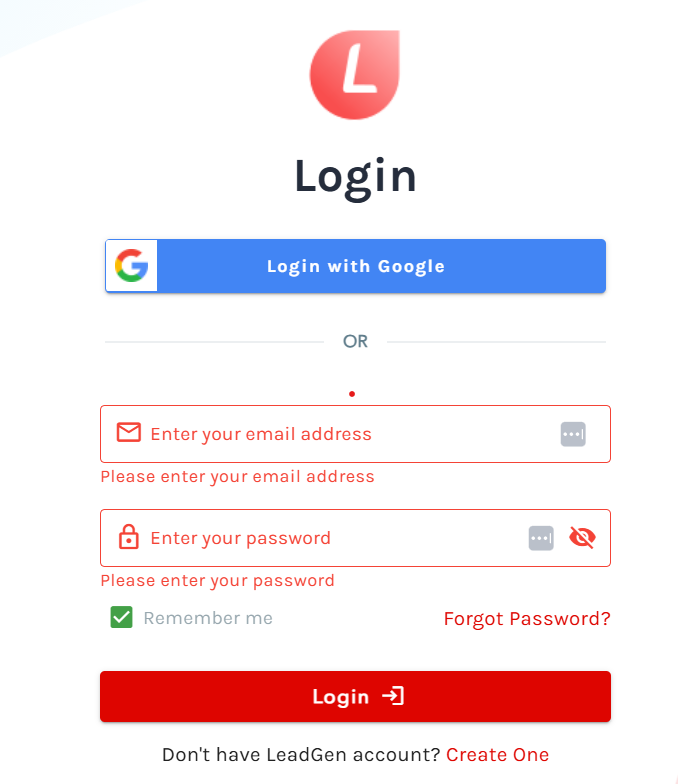
Once on the Login page, type in your email address and password, and then hit “Login”.
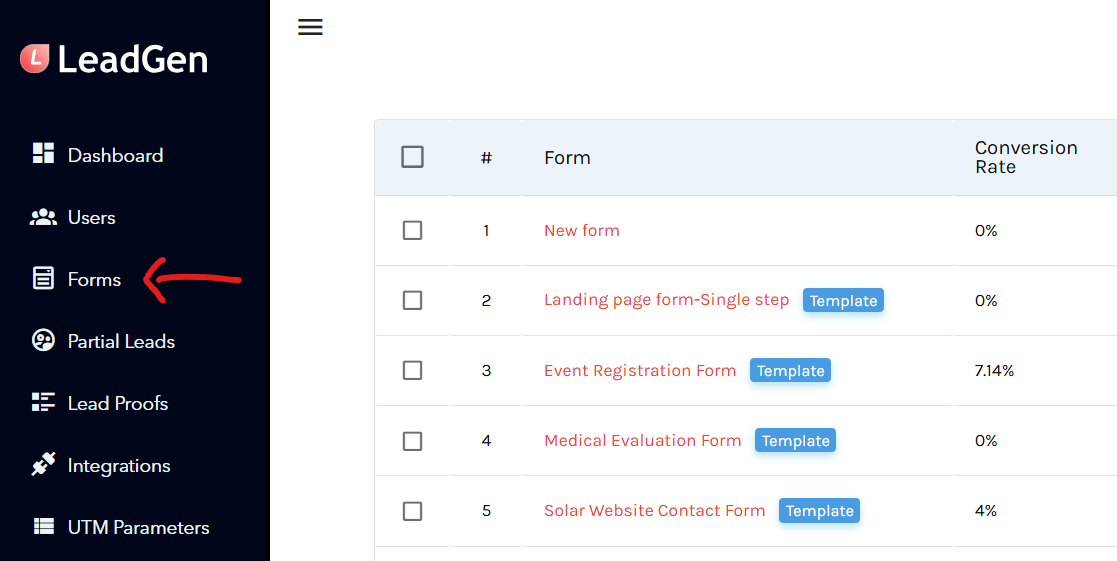
Now that you are inside the platform, click on “Forms” from the left sidebar and then select “+Form” on the right side of the screen, above the existing table.
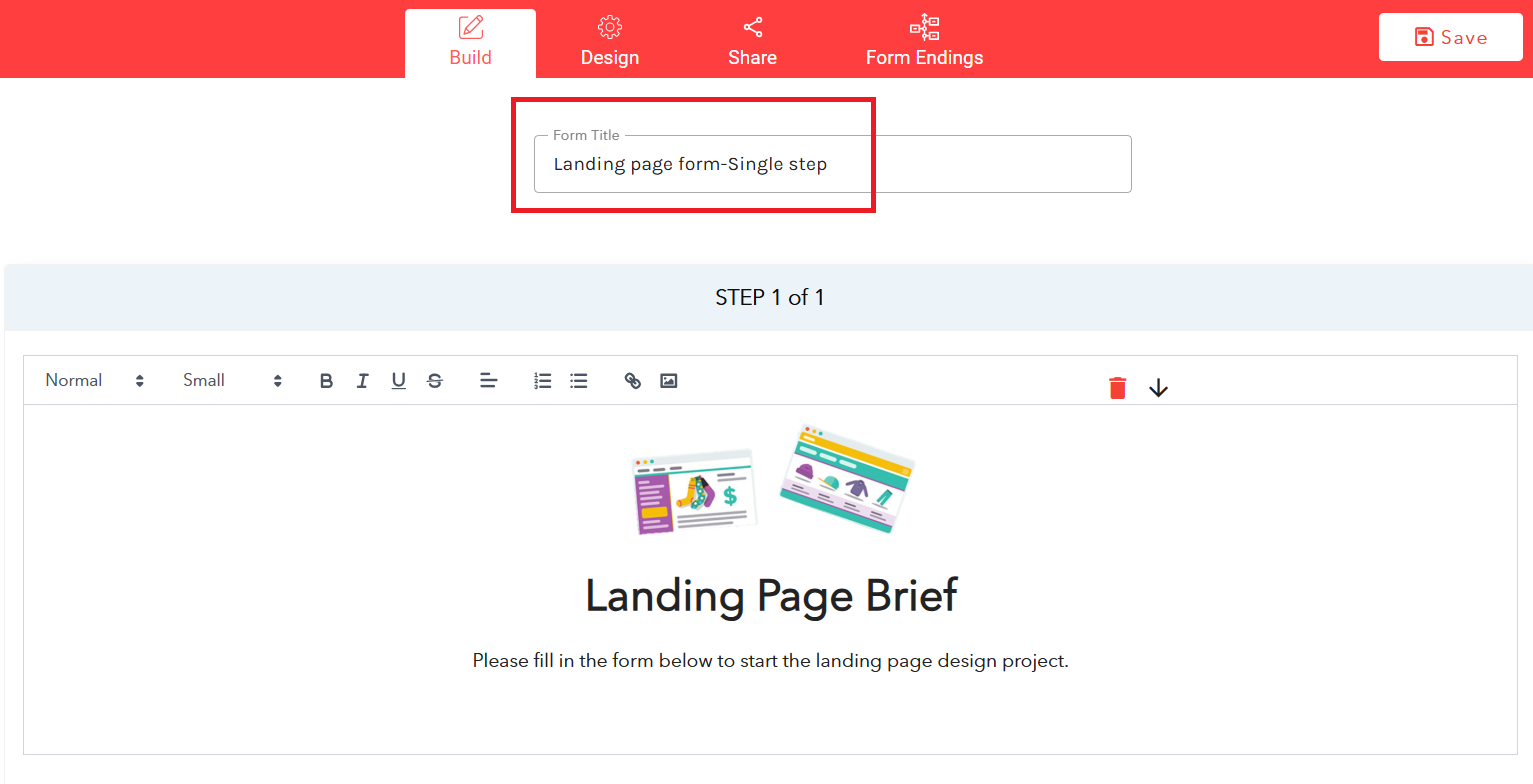
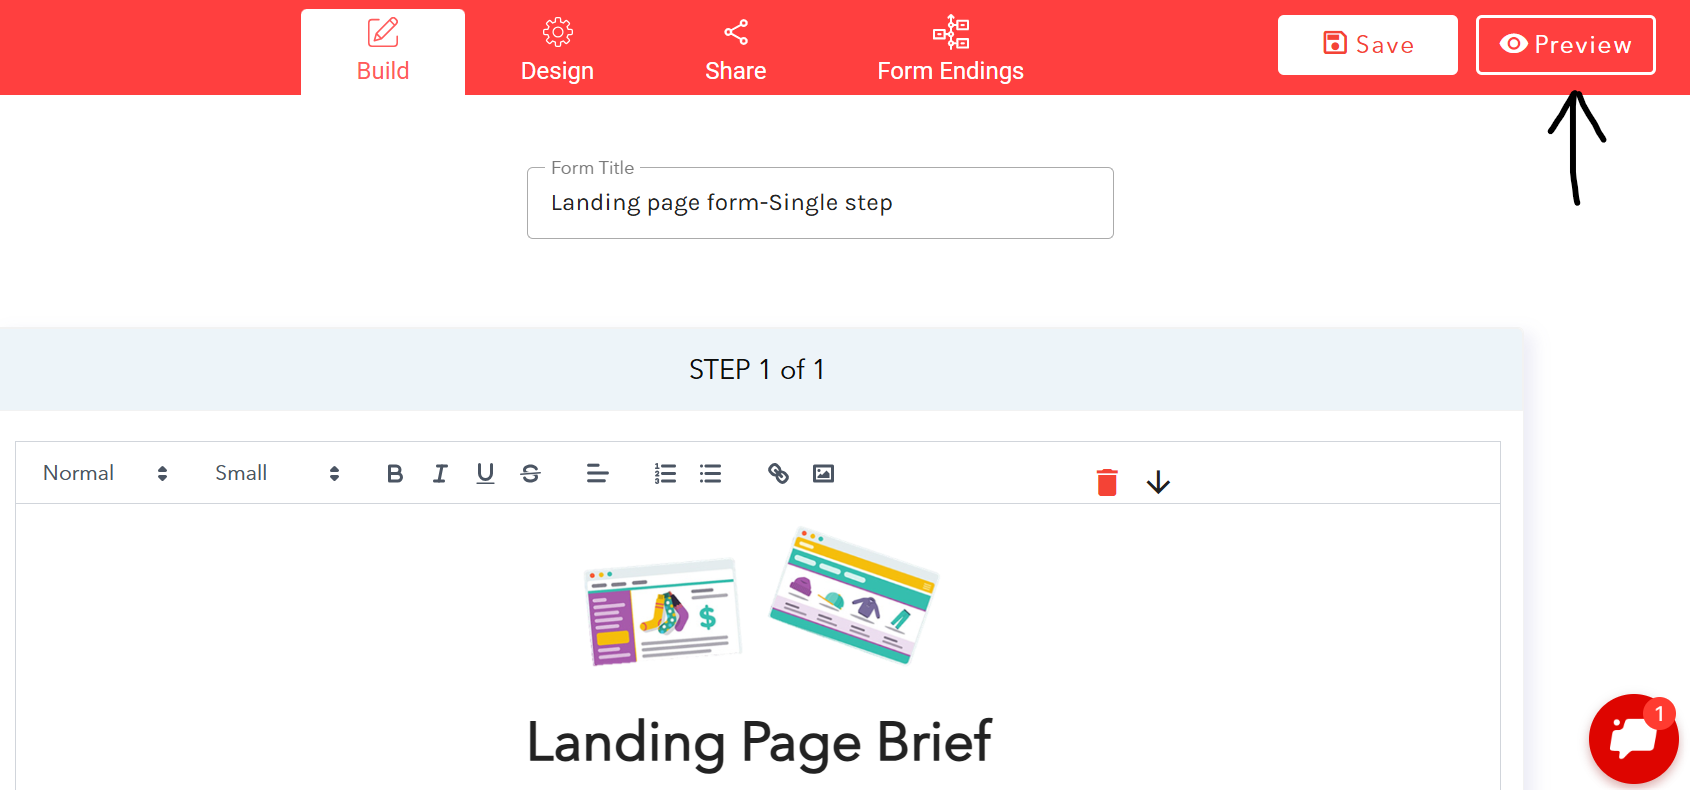
You are now on the page where you can create a new form. Let’s start with the name of the form. You will see a section called “Form Title” where you can replace “My Form” with your form’s name at the top of the page.
Next, you will see a section called “STEP 1 of 1.” A form created using the LeadGen platform has two essential elements: steps and questions. Each step can have multiple questions, as you will see in the form we are building. These questions will all appear on the same page, while different steps are presented on different pages.
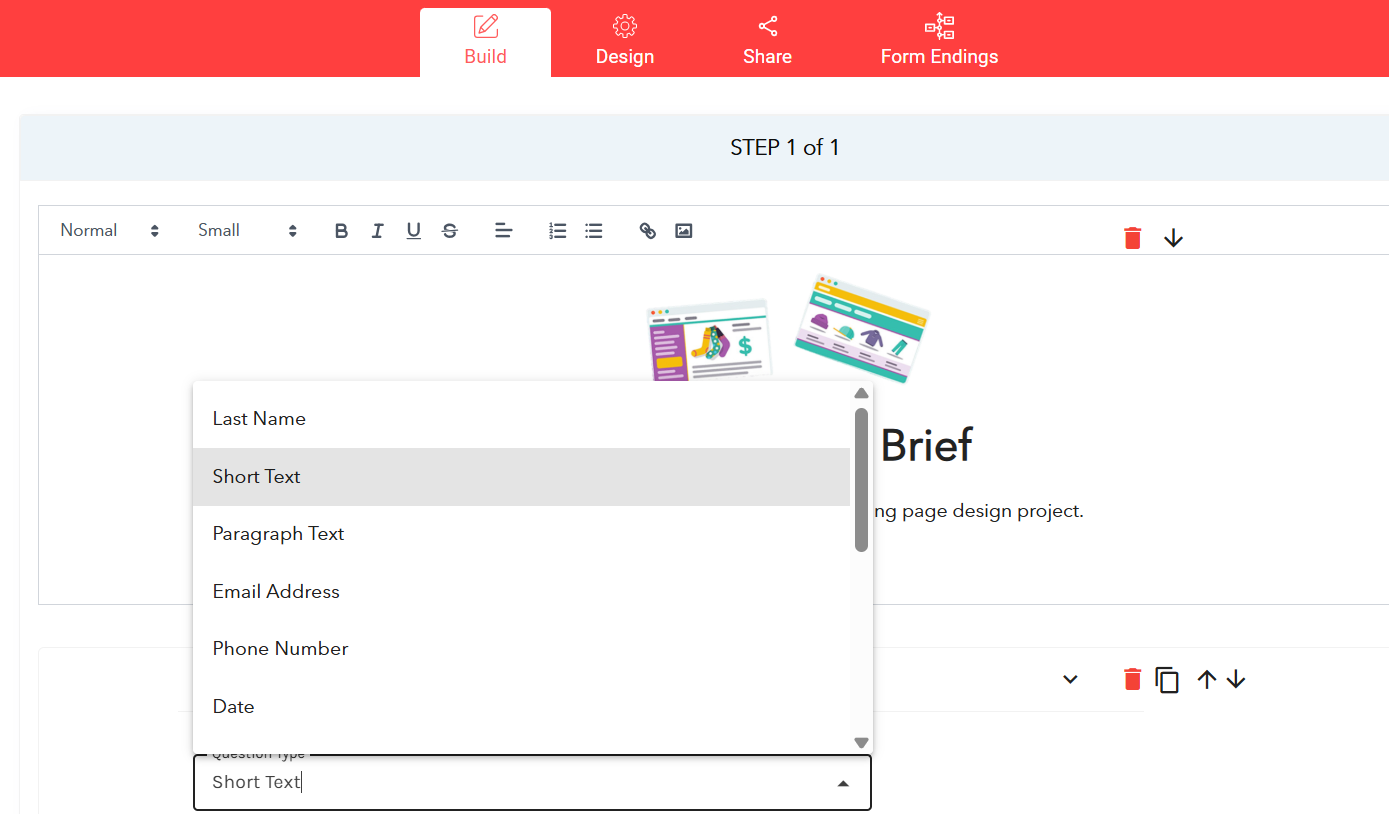
Right now, you are editing the first question from the first step. In the dropdown menu, you have a list of options that are question templates; each one will come with its title and settings.
Let’s opt for “First name” on the first question. Once you’ve made your choice, you will see the title change, along with the rest of the options, some of which are under advanced settings.
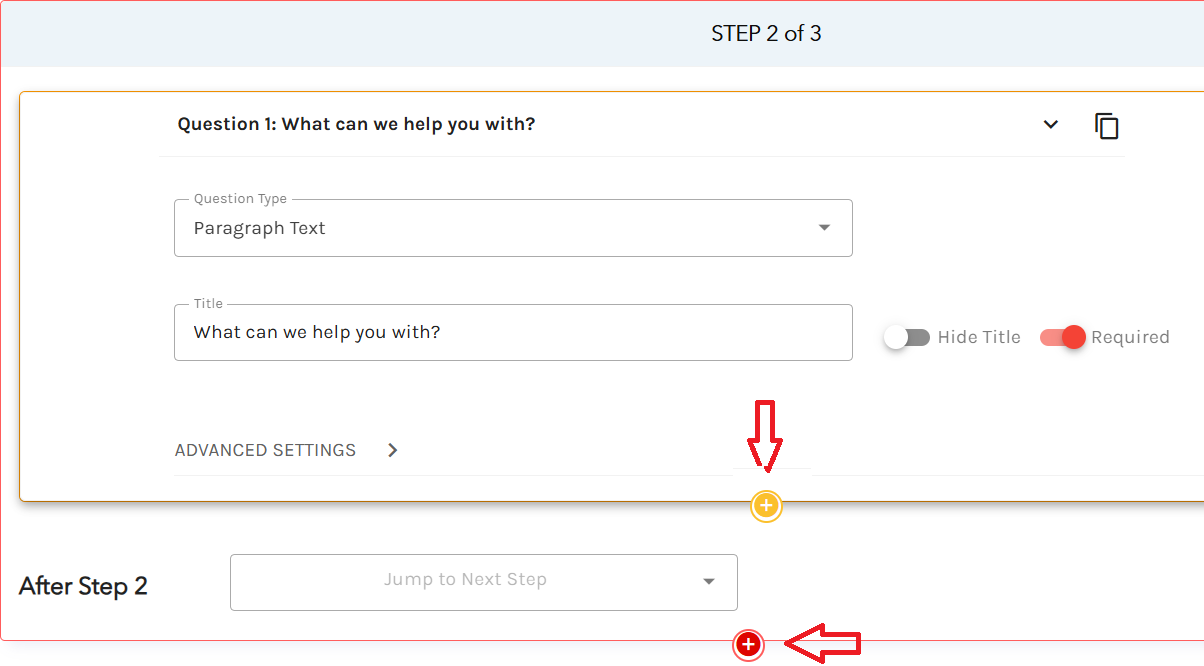
You will see two “+” icons at the bottom of the page representing questions and steps. The first icon, the orange one, will add another element to the same step. The second icon, the red one, will add another step to the form.
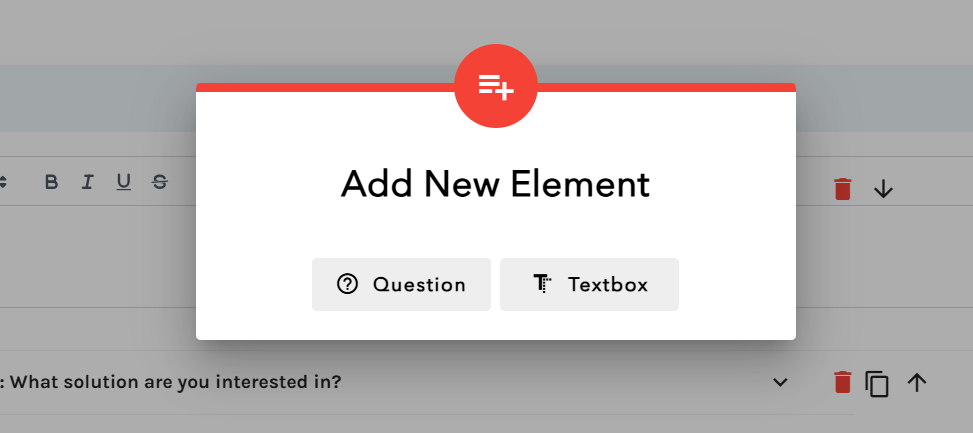
Let’s click on the orange icon and select “Question” in the pop-up to add another item to the same step.
You’ll get to edit question #2 from the first step. Like with the first one, you can select the type of question from the dropdown menu, and the options will automatically be filled.
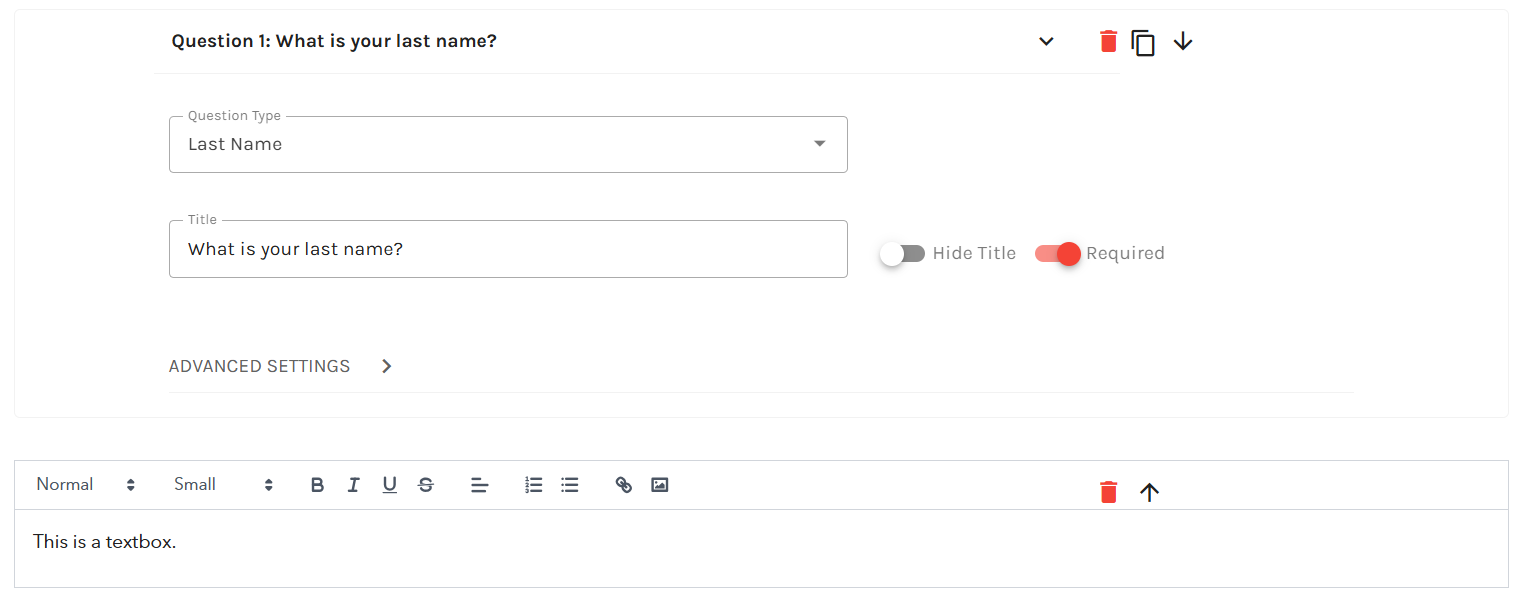
Since we chose “First Name” for the first question, it only comes naturally to ask for the last name now. Go ahead and select it from the dropdown. At the end of the section, you can see an option called “Required”, which is ON. That will mark questions that users are required to answer to submit the form. Without these answers, the user won’t be able to go to the next step.
Before moving on, let’s have a quick look at the second element you can add on the same step, a textbox. It adds a simple text area that, for example, can be used to provide guidelines for completing the form or other relevant information. Besides text, you can also add links and images in this textbox.
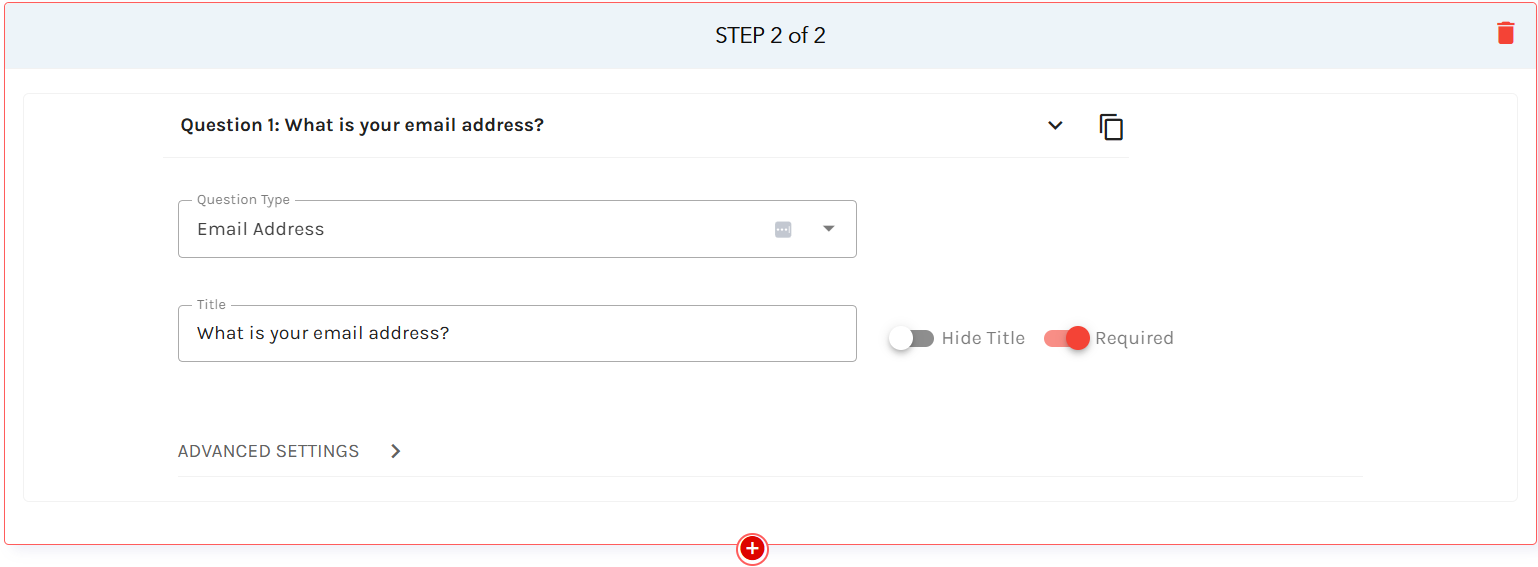
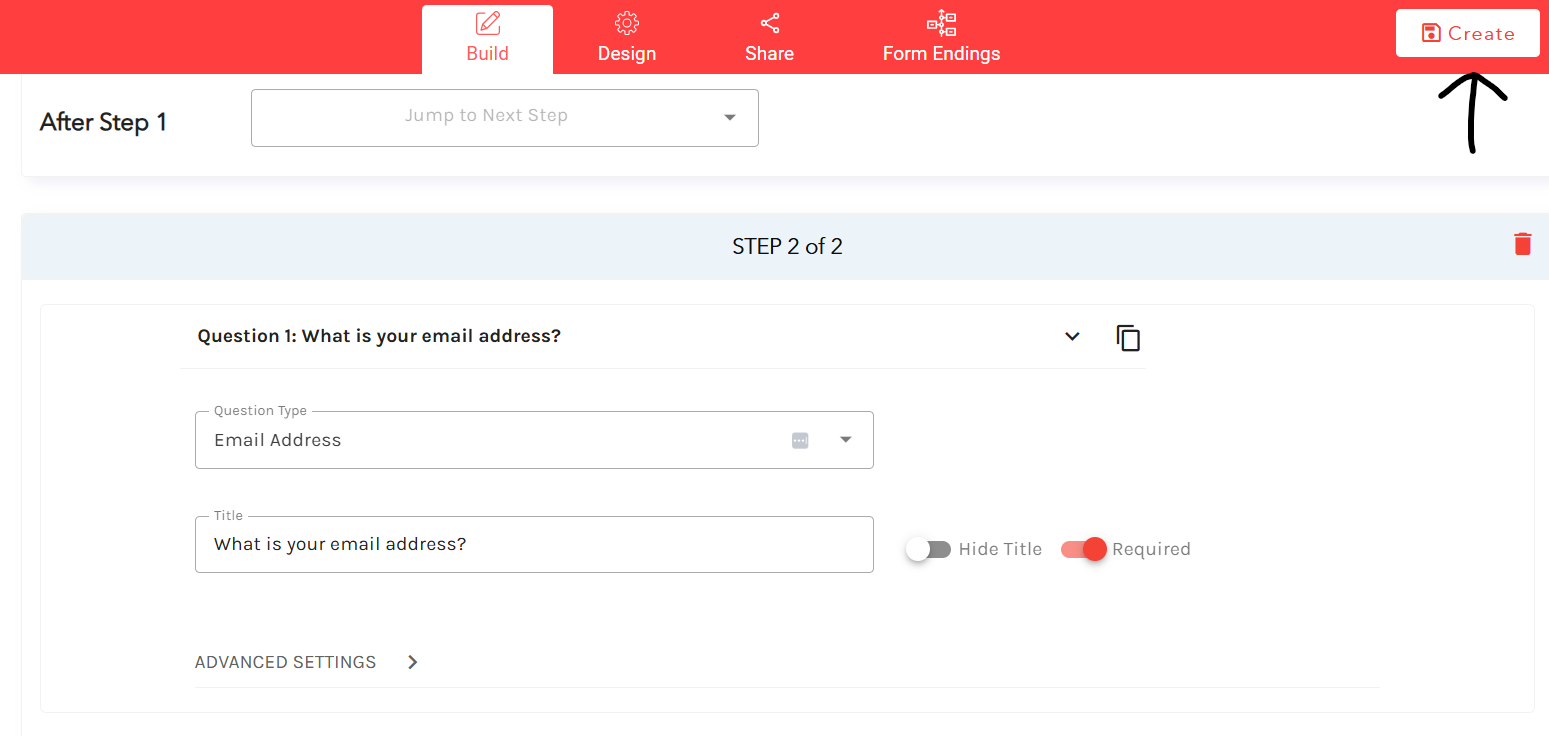
Next, click on the red icon and add a second step. It will show up as section “STEP 2 of 2”. The flow for adding questions is the same as above, with the dropdown options.
Let’s ask for the user’s email address in this step. To do so, select this option from the question type dropdown.
When you are ready, you need to click “Create” in the header’s top right corner to finish and save the form.
Once you’ve created the form, the option to preview it becomes available – to do that, you need to click “Preview”.
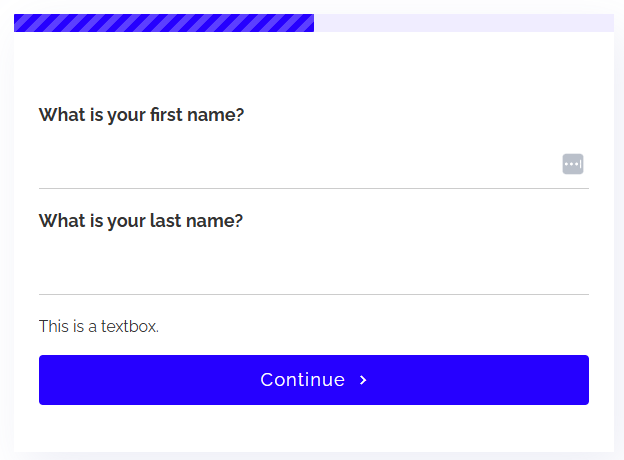
Clicking on “Preview” will take you to the form page. Below you can see how the form we just created looks like in the preview. The first step includes the two questions we created, regarding the first and last names.
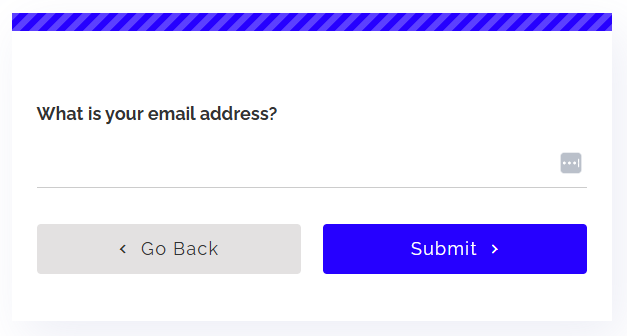
When you click “Continue”, you move to step 2 of 2. That’s where you have the email address question.
After you click “Submit” a thank you message will let you know that your submission has been successfully sent to the form owner.
There you have it—the basics of creating a form.
